
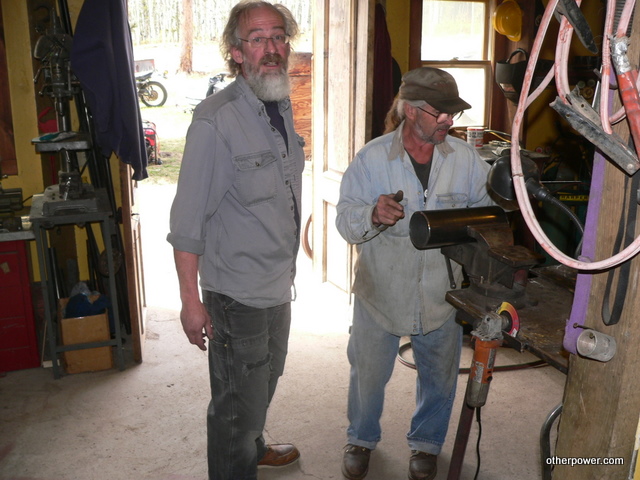
3 days after returning from a long haul in Wisconsin I had a small workshop here at my own shop. We had a total of 5 students.... Jack (pictured above with George, Lee (domeguy here on the board who gets the 12 foot turbine, Forrest and Jim from New Mexico, and Bill from Golden CO). The goal of this workshop was to build a single 12 foot turbine from scratch, and then to install it on Lee's tower (about 2.5 hours away).
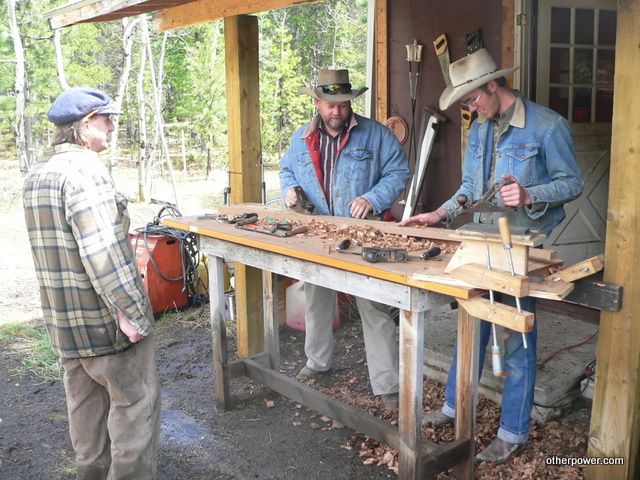
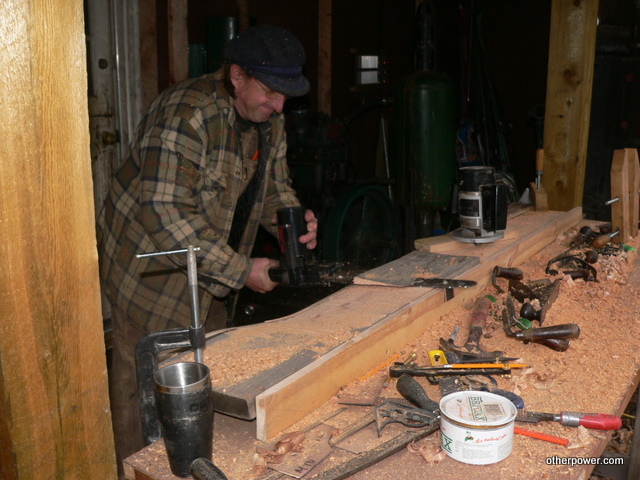
Pictured above Jim and Forrest are carving a blade together. Video of this here: http://www.youtube.com/watch?v=SAa7Gx_tiPM
Jim and Forrest are quite talented folks, check out their website here: http://www.mackey-made.com/
This time we experimented a bit. Only one blade had the faced carved by hand... we also experimented with chainsaws and routers (later).
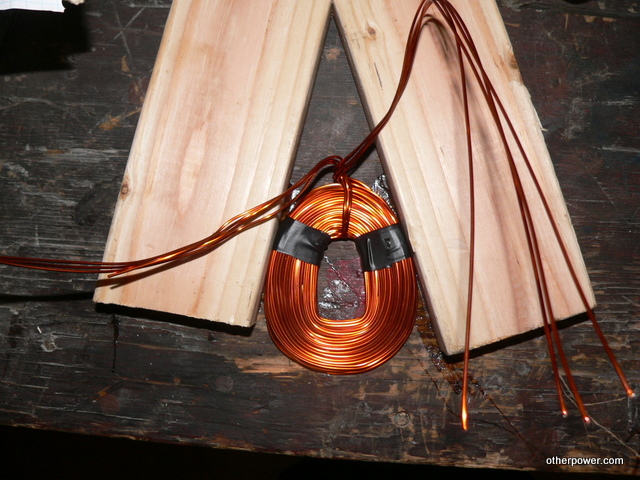
In an effort to fit as much copper as possible into this stator, we wound the coils (24 volts) with 33 turns each, using 4 strands of AWG 15 wire. It's a tight fit and we mashed the coils into this 'coil former' so they'd fit.
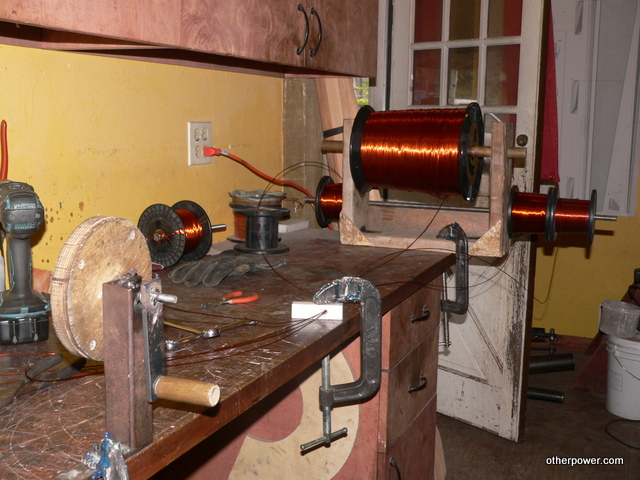
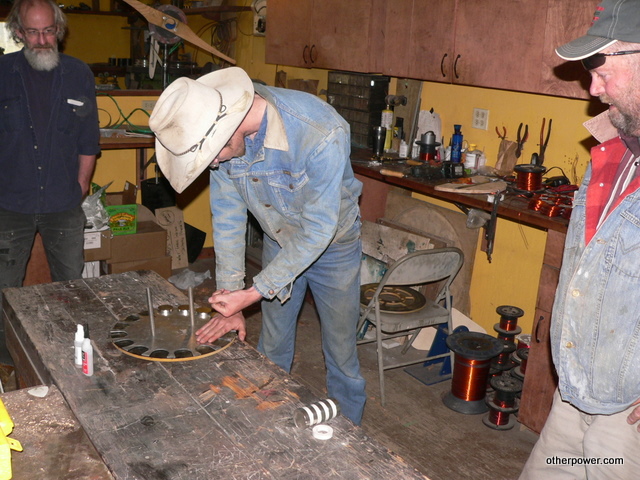
Pictured above is the rig for winding with 4 strands in one hand. It's best to keep the spools of wire horizontal, and run all 4 strands through a bit of wood or plastic that has a hole drilled in it.
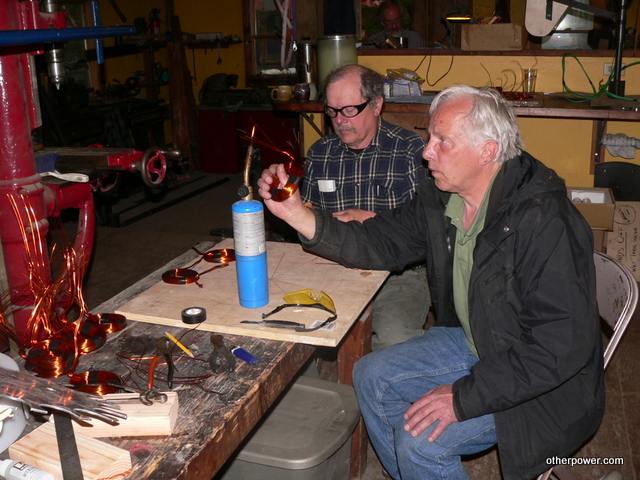
There are lots of ways to strip magnet wire... I get pretty insistant that it be done perfectly though. I usually show about 4 ways to do it... Bill and Lee prefer to burn the insulation off with a torch and then use sand paper to get it clean. I usually just use a pocket knife.
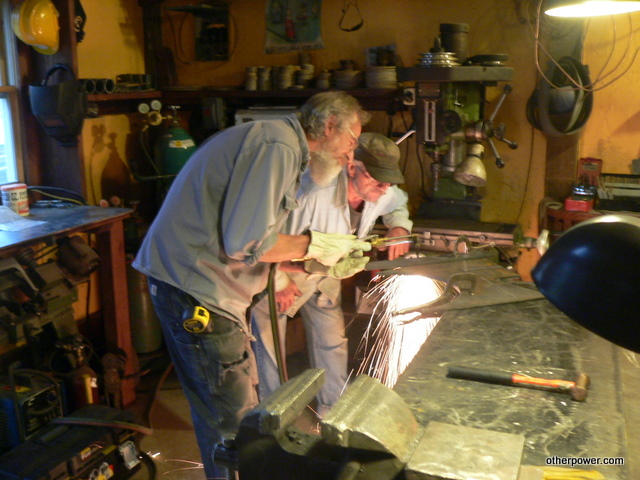
Jack got some lessons with the cutting torch. He's a new neighbor (about 15 miles down the canyon) ~ he'll be installing a system like this next fall so he wanted to take the workshop. Very lucky person... you can see his house in this video:
http://www.youtube.com/user/otherpower?feature=mhee#p/f/11/Br-VJxBNPME
So based on some stuff we've seen other folks do we thought we'd try carving blades with a chainsaw... and a router, using guides on each side. We remove almost all the material from the face of the blade, so the high point (thickest part of the airfoil) is a line, down the back side of the board that never gets carved or touched.... once the face is done 80% of the wood is removed. So this could be a real time saver. In this case, the chainsaw worked (we did not have a blade for ripping so that would've helped) - the router did a much better job though.
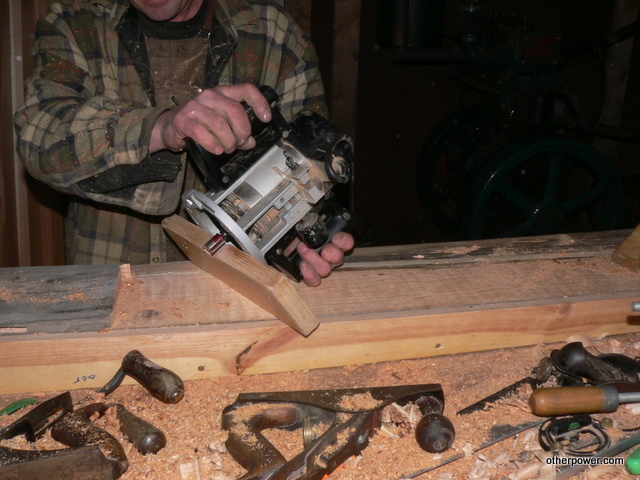
Above is detail of the router base to carve the blades. This is just a 'practice' blade in the jig right now.
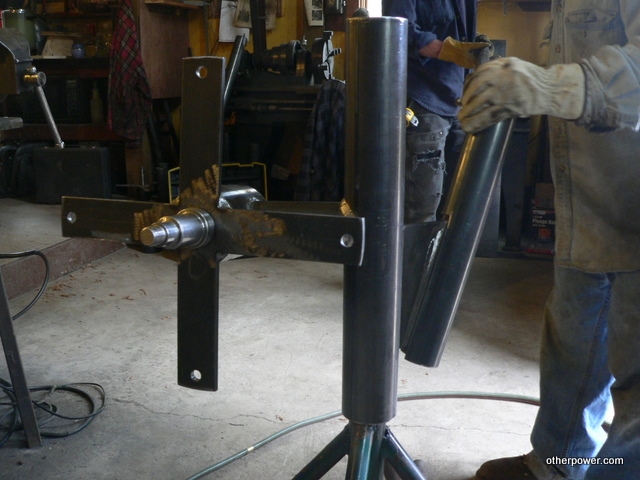
Finished metal work for 12' turbine pictured above....
Forrest doing a nice job of putting down the magnets.
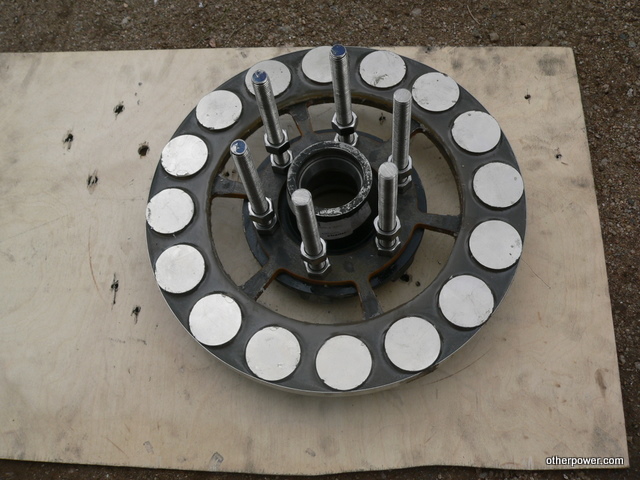
Pictured above is the back magnet rotor, finished, and bolted to the hub.
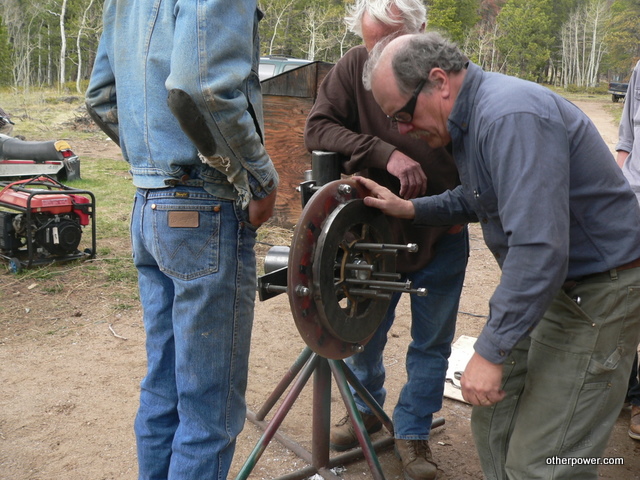
Lee and Bill lower the front magnet rotor onto the alternator with jacking screws.
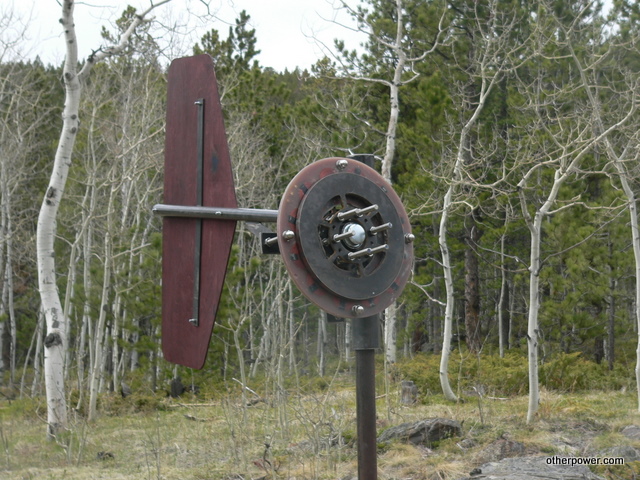
Finished wind turbine on the stand.. minus the blades.
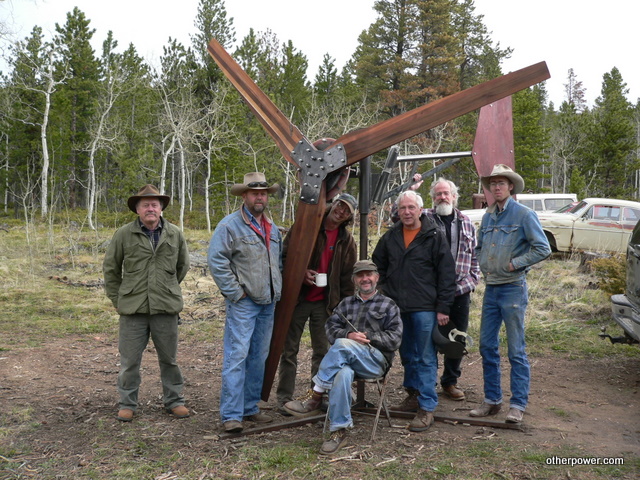
There's the whole group, minus Scotty (he couldn't be there at the end). Nice turbine though and great folks.... it's always fun to have a workshop here at home with a small group.

The next day we all drove about two and a half hours up to Lee's place and installed the machine. It got pretty windy.... the machine just sat there furled, producing just under 1kW steady. Very busy and lots of fun....
There is a short video of the machine running here: http://www.youtube.com/watch?v=I-uXlHWUKSI
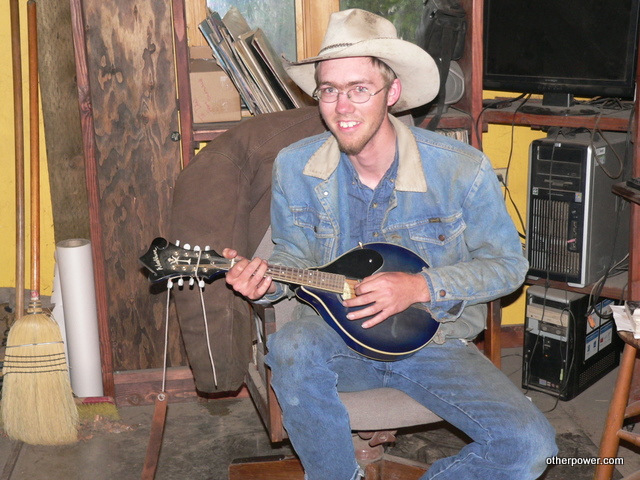
At the end of the last day we had some neighbors up and played music all night. Not sure how he does it... Forrest (pictured above) is a great guitar player (lefty) but he's never touched a mandolin. He picks mine up, holds it backwards and upside down and shreds....