
| This page is about an older project of ours. We keep ALL of our projects up on the internet for anyone that's interested...but we are no longer pursuing many of these older ideas. Before starting this project, please check our main Wind Power page to check for similar, more recent designs. These will be the top of the list and flagged with an "active project" tag. If you have any questions about what is current and what is not, or why we no longer work on certain designs, first check out our Wind Turbine Evolution page for a detailed history of how our designs have changed over the years. You can also Email us and we'll fill you in as our email volume permits...check the Evolution page first. |
This year that folks that put on the Sustainable Living Fair in Ft Collins, Colorado - asked us if we'd put on an 'extended workshop' where we involve folks in building a wind turbine from scratch. We'd never done this sort of thing before (except up here with neighbors) but it sounded fun so we said 'sure'!
Last year we ran a vendors booth, sold some books and magnets and displayed one of the 10' diameter wind turbines that we built last summer. DanF made an excellent page about our experience there last year.
The Fair is a fun, 2 day event with about 300 booths, workshops, live music... good beer, good food etc. It's very well organized and runs smoothly. They put it on near the old town area of Ft Collins. Some of the other workshops involved building a straw bale shed, making bio diesel, and xeriscape landscaping.
This page is a brief diary about our experience this year. We were actually quite busy so we didn't get around too much. They wanted lots of folks to participate in our workshop, but there was only so much space and so many tools. So we allowed each participant to hang out for 3 hours of the project - we could only support about 4 participants at one time. But I think everyone left with a pretty good idea about what to do, and why.
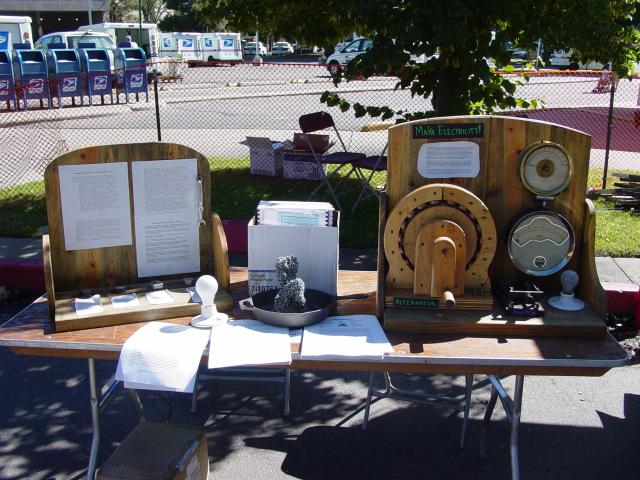
We actually had 5 tables setup there. Pictured above was our display different types of magnets... a fun hand crank alternator, and some liturature. (We were selling Hugh Piggott's plans there and some books).
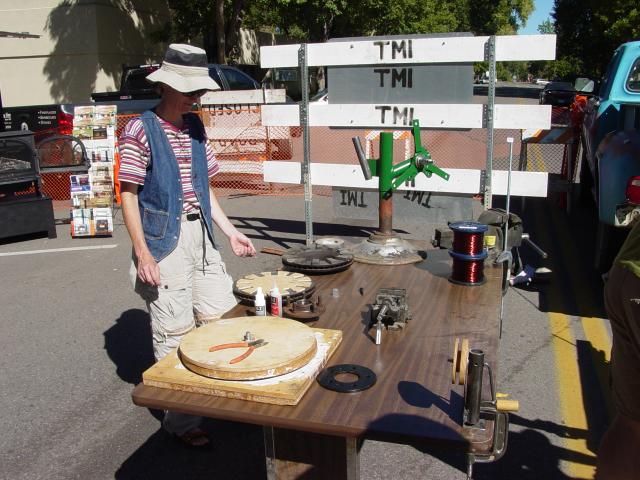
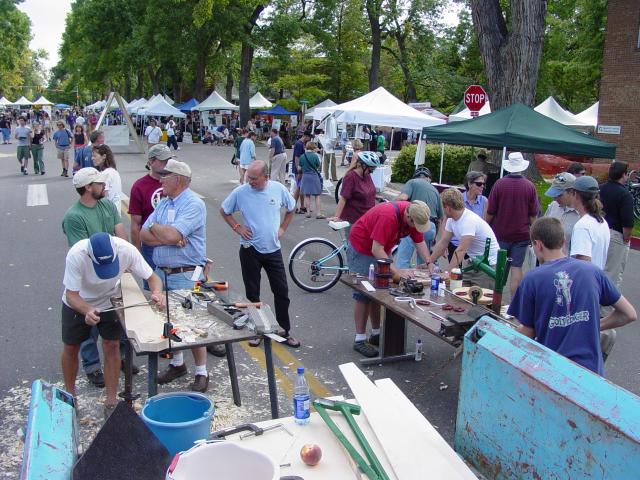
The table above was for assembly, electrical... and casting. Since this was a fair, welding grinding and painting didn't seem appropriate. So I did most of the metal work here at home before the event. I was concerned about the smell of the casting and experimented with different resins in the week leading up to the event, but I could find nothing I liked more than polyester resin.
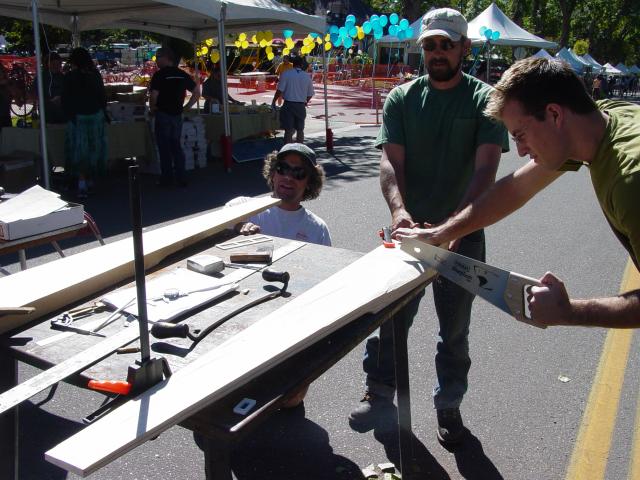
Just getting started on Saturday morning. I selected Basswood for the blades, because its good stuff, and it's nice and easy to carve. We didn't bring any power tools, so I cut the taper, and some of the thickness off on the bandsaw before the event. In the picture above Jeff Wilson is looking down one of the blades. He came all the way down from Jackson Hole Wyoming which was fun. We met him up on Guemes Island this spring at Hugh Piggott's Wind Turbine Workshop on Guemes Island.
In the center in the picture above is our good friend and employee Rich Carlsen, who came along to help out. In the end, the machine we built will be installed at his cabin.
To the right is Dan Perasetter, who is persuing mechanical engineering with some focus on Wind Power. He's kerfing the root of the blades in preparation to carve it out with a chisel. To make the blades, we brought the handsaw, some chisels, 3 drawknives, some wood planes, a spoke shave and some sureforms and of course, lots of measuring tools.
The prop will have 3 blades, it's 10' in diameter.
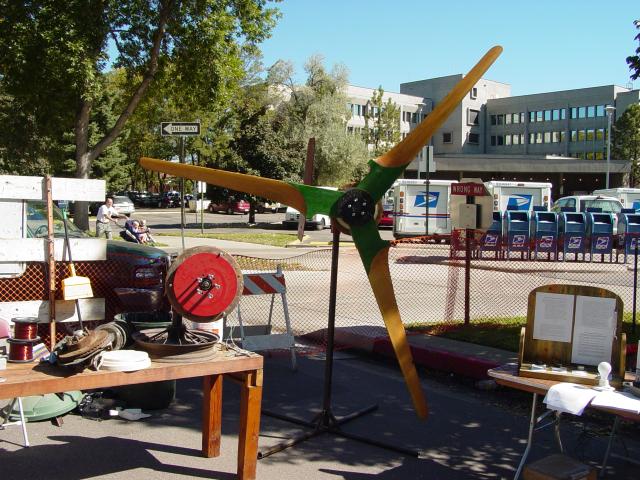
The table on the left we used to display one of the larger alternators like the one on my 14' diameter windmill. We also kept most of the parts and supplies on that table. To the right is the 10' machine we displayed, which is almost identical to the one we built. Since the workshop was only two days, and most folks were only there for a few hours, it was nice to have a completed machine to look over and discuss.
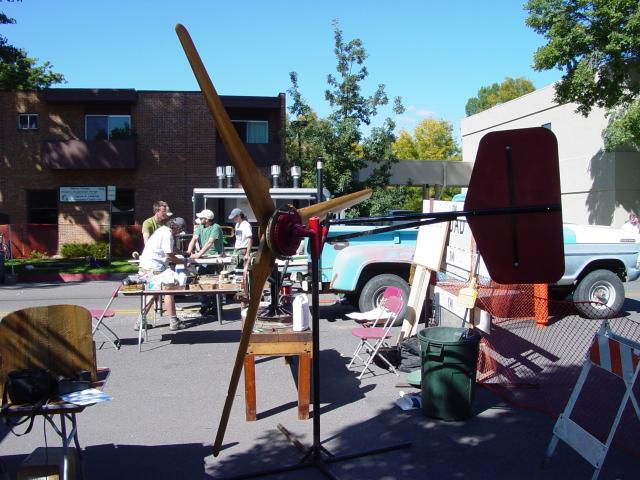
There's another shot of the 10' machine we displayed, and all the folks in the background working away.
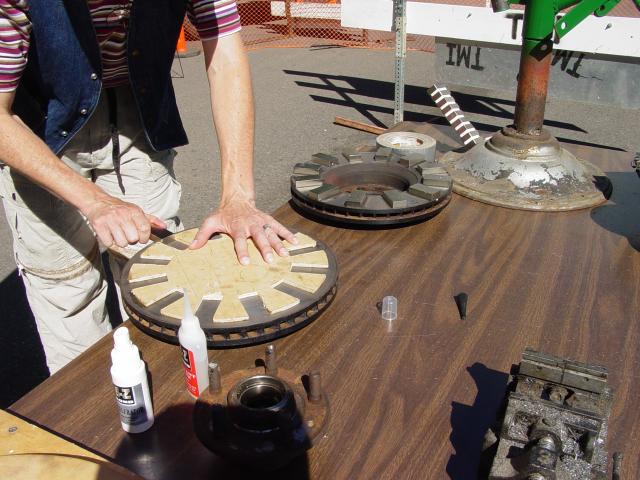
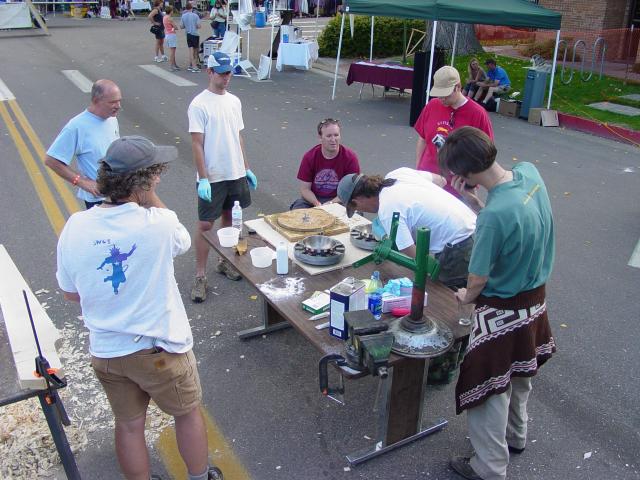
Here Maria (I think I got her name right) is very carefully placing down the magnets on the rotors. The template I brought was a bit small, I'd made it for the 11" rotors we used on Scotty's Hydro plant. So I had her center the template on the 12" rotors by eye, tack it down with super glue, and then place the magnets. It worked out fine. Once the magnets were places she removed the template, and tacked them down with super glue.
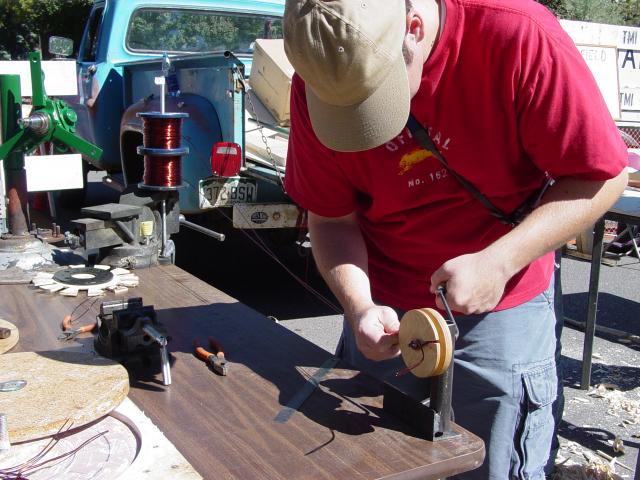
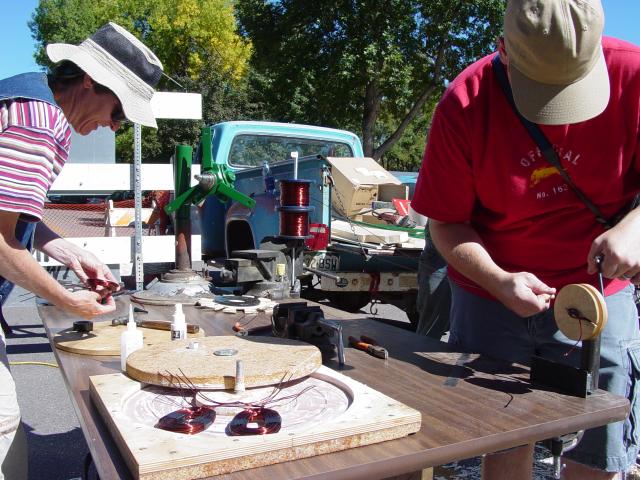
We're building this machine for 12 volts. Each coil is wound with two strands of #14 wire (its a bit more flexible than #11 and makes for tighter coils), and there are 34 windings per coil. Pictured above Richmond Wheeler is winding the first of 9 coils.
Once the coils came out of the winder, Maria tacked them together with some super glue, and taped up the legs so they'd tend to stay together a bit better.
You can see we were having fun..keeping busy and making lots of wood chips.

We wired the coils as pictured above, hooking up only 1 phase (3 coils at a time). I did not get pictures of this part happening at the fair. Once we had 3 phases wired, we put polyester resin, fiberglass mat, a bit more resin - and then all 3 phases into the mould.
Actually mixing, and pouring the resin is about the only thing I did all weekend - otherwise we tried to let other folks do all the work. I did this part because it's messy.. smells bad - and time sensitive. It was in the mid 90's that day so the resin went off quite fast even though I mixed it with less hardener than it calls for.
We did this at the end of the first day when the crowds were winding down - I was worried about the offensive smell. We cast the magnet rotors at the same time. You can see, that the magnet rotors are "moulded" by running a layer of duct tape around the outer diameter, and then sealing off the inside with stainless steel mixing bowls. Quick and easy.. and it can work out pretty well.
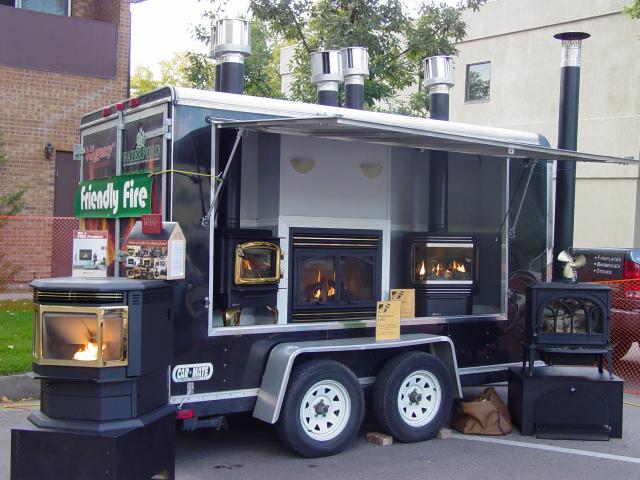
Our workshop was right next to the freindly fire... so when folks complained about the resin smell we just blamed their fancy stoves! *Actually* they were very good neighbors and they sell very nice stoves in Ft Collins. They burned all our wood chips for us which was nice.
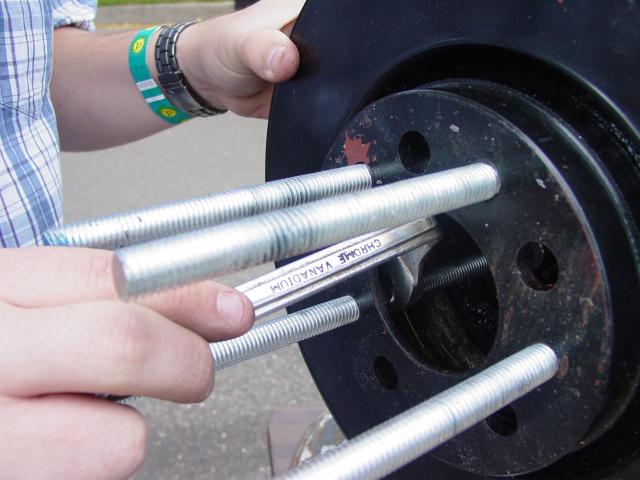
Richmond stayed with us most of the weekend, he was quite interested. Earlier on Saturday I'd had some other folks cut all the pieces of allthread we needed to assemble the alternator, and here Richmond is putting it all together while I distract him by talking...
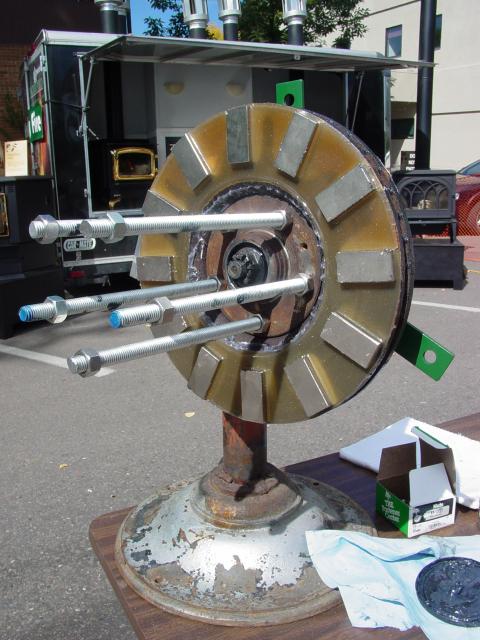
There's a closer shot of the alternator coming together. Notice if you look closely - the resin did not bond well in all places to the steel rotor. Im not sure why.. perhaps it went off too quickly and shrunk a bit, or perhaps we didn't clean the surface well enough. In any event, I don't expect it will be a problem. My current feeling is to pour the resin up about half the height of the magnet. In testing alternators on the ground, I find that having the magnets poking out some really moves quite a bit of air past the stator which must help with cooling.
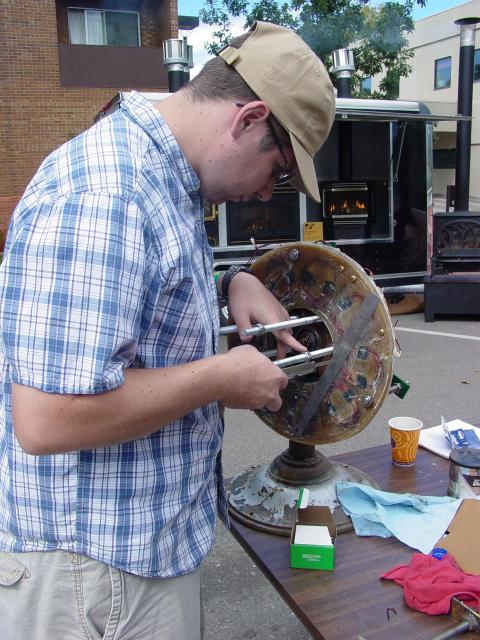
We've placed the stator, and Richmond is using calipers to adjust the nuts to hold the front rotor back from the stator a bit. In this stage, we shoot to only get it close. After that I have a wrench which is bent, so that we can adjust the airgap, and take wobble out of the front rotor after it's on there.
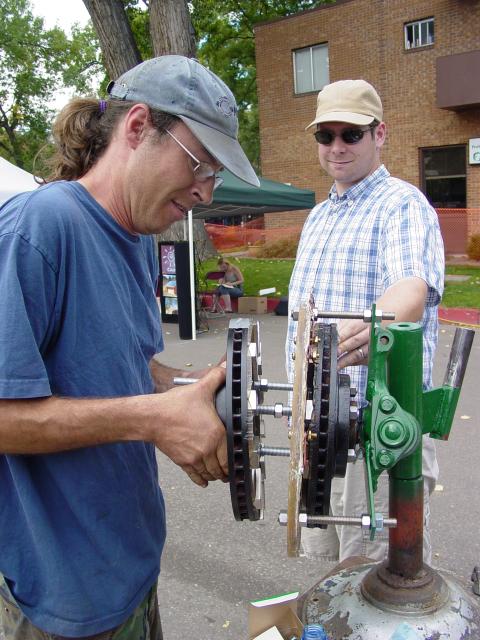
One other thing I did... 'cause I figured if anybodies fingers were going to get smashed they should be mine. Snapping the front rotor on. I have a puller that takes it off easily, but I find that putting it together is easier if we just line up the holes, and let the magnets pull things together. Kind of exciting.
Here is the operation I described above. This wrench makes it fairly easy to get the airgap nice and tight, and to make sure the front rotor runs true.

Getting on towards afternoon on Sunday and the blades are almost finished. All weekend, we had 2 people working on the blades at all times.

Here Carson is assembling the blades (while I drink coffee!) The blades were finished by about 2:30 in the afternoon on Sunday and ready for assembly.
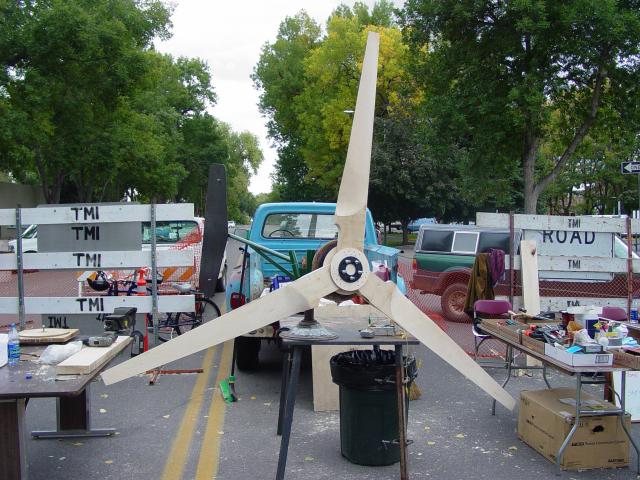
There it is all finished up at about 3:30... I thought it came out quite nicely! The blades looked great, the alternator came out fine. The cutin speed was right on target at 150 rpm for 12.5 volts after the rectifiers. Overall it was lots of fun and lots of folks were involved (lots more were interested and just wanted to talk!). Where was DanF???? - he helped out a bunch both with showing folks what/how to do things *and* just talking to the hundreds of folks who came by to ask questions AND... he took all the pictures so we don't see him on this webpage.